Welcome to our comprehensive guide to replacing a Power Wheels battery. Power Wheels, the best selling ride-on toy cars for kids, have been a source of joy and adventure for kids for decades, offering them a taste of independence and the thrill of driving their own toy car.
From identifying when it’s time to replace the battery on your kids Power Wheels, to selecting the right type, and safely installing it, we’ve got you covered. We’ll provide you with expert tips, safety precautions, and easy-to-follow instructions to make the battery replacement process smooth and hassle-free.
What’s in this guide
Understanding Power Wheels Batteries
Power Wheels toys are powered by rechargeable lead acid 6, 12 or 24 volt batteries. These batteries are the heart of the toy, providing the necessary power to bring hours of fun and adventure to young drivers. Understanding the type and functionality of these batteries is crucial for maintaining the toy’s performance and ensuring a safe riding experience for your kids.
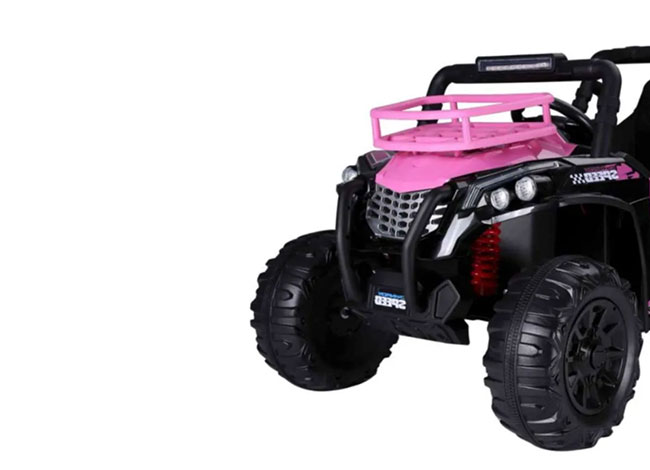
Types of Batteries Used in Power Wheels
Power Wheels typically use one of two types of batteries:
- 6-Volt Batteries: Common in smaller or single-seater models, these batteries are designed for lighter use and are ideal for younger kids or less demanding terrains.
- 12-Volt Batteries: Found in larger, more powerful models, these batteries cater to older kids and can handle more weight and tougher terrain. They offer longer run times and more power, making them suitable for advanced ride-on car models.
Understanding Battery Specifications
Each battery comes with specific ratings that determine its capacity and performance. The most common specifications include:
- Voltage (V): Indicates the electrical potential of the battery. Higher voltage means more power for the toy.
- Ampere-hours (Ah): Represents the battery’s capacity. A higher Ah rating means the battery can last longer on a single charge.
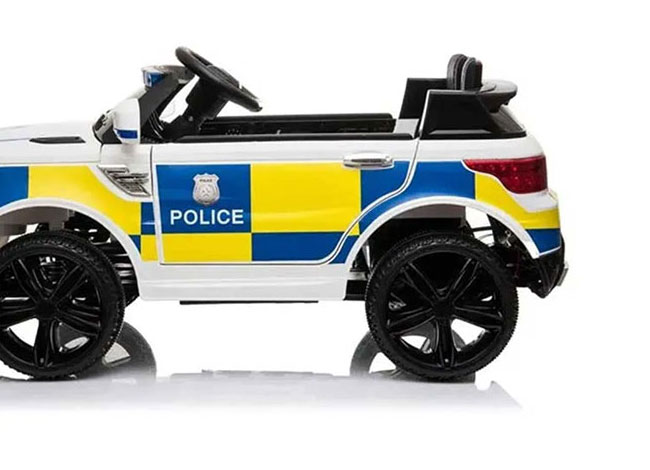
When Should You Replace Your Power Wheels Battery?
Power Wheels batteries typically have a lifespan of around 2-3 years, but this may vary based on usage and maintenance. Signs that it might be time to replace your Power Wheels battery include:
- Reduced Driving Time: If the toy doesn’t last as long as it used to on a single charge, the battery may be losing its capacity.
- Slow Performance: If the Power Wheels seem sluggish or lack its usual power, the battery might be failing.
- Inability to Hold Charge: If the battery doesn’t charge at all or loses charge quickly, it’s likely time for a replacement.
Preparing for the Battery Replacement
Tools and Materials You Will Need
Before you begin the process of replacing your Power Wheels battery, it’s important to gather all the necessary tools and materials. This ensures a smooth and efficient replacement process. Typically, you will need:
- A New Power Wheels Battery: Ensure it’s the correct type and voltage for your specific model.
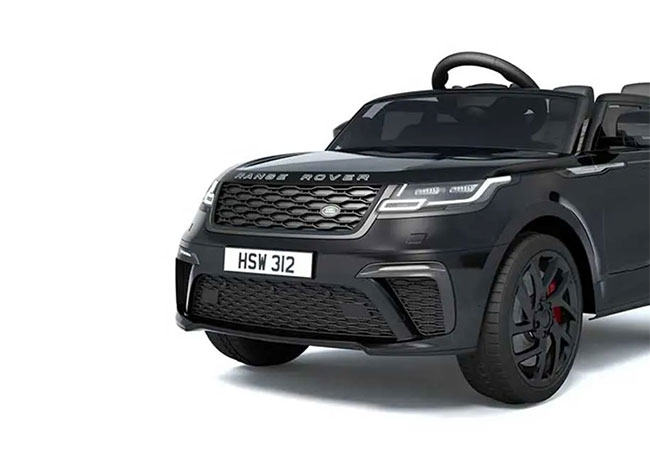
- Screwdriver: Depending on your Power Wheels model, a Phillips or flat-head screwdriver may be required to open the battery compartment.
- Safety Gloves (optional): To protect your hands during the replacement process.
- Safety Goggles (optional): To protect your eyes from any potential debris or battery acid.
Purchasing the Right Replacement Battery
Choosing the right replacement battery is crucial for the performance and safety of your Power Wheels toy. Give the following some thought:
- Compatibility: Check the manufacturer’s specifications for your Power Wheels model to find the compatible battery type and voltage.
- OEM (Original Equipment Manufacturer) vs. Third-Party Batteries: OEM batteries are designed specifically for your Power Wheels model and are generally recommended for optimal performance and safety. However, reputable third-party batteries can be a cost-effective alternative. If choosing a third-party battery, ensure it meets the necessary safety and performance standards.
- Warranty and Support: Consider the warranty and customer support offered, especially if you opt for a third-party battery.
Locating and Accessing the Battery Compartment
How to Find Your Power Wheels Battery
The first step when replacing your Power Wheels battery is to find the battery compartment. The position of the battery can vary depending on the model of your Power Wheels, but can generally be found under the seat.
Opening the Battery Compartment
Once you have identified the location of the battery compartment, the next step is to access it. This process typically involves:
- Removing Screws: Use a screwdriver to remove any screws securing the battery in place. Keep these screws in a safe place as you will need them to fix the new battery in place.
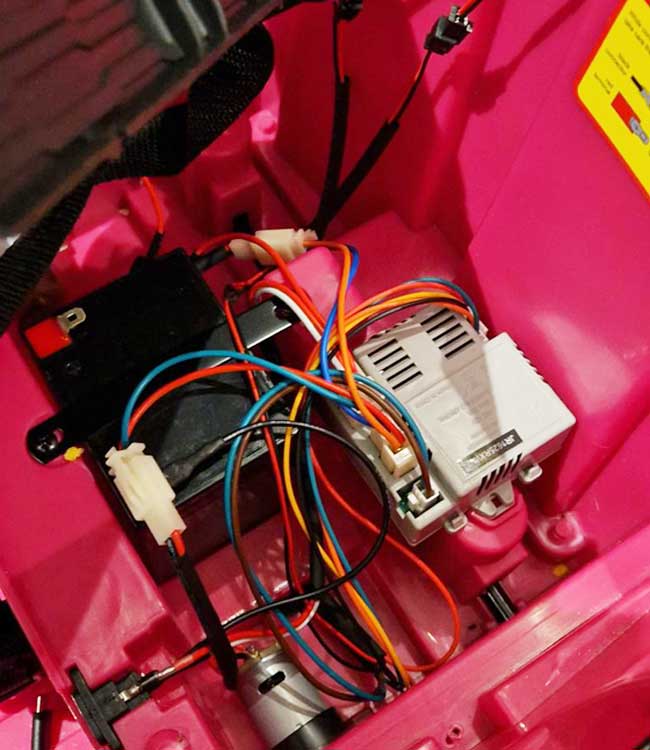
- Lifting Covers or Panels: Gently lift any covers or panels to expose the battery.
- Access the Motor: Remove the rear wheel that the motor you are replacing sits behind. Once the wheel has been removed, you should be able to slide out the unit that holds the motor.
- Handling with Care: Be cautious when removing the screws to avoid damaging any internal wiring or components.
Understanding the Battery Setup
Before removing the battery, take a moment to understand how it is set up within the toy:
- Note the Battery Orientation: Observe how the battery is positioned so you can place the new battery in the same orientation.
- Identify the Connectors: Locate the connectors or cables that connect the battery to the toy. Understanding how these are connected will assist you in safely disconnecting the old battery and connecting the new one.
- Take a Photo: It is always a great idea to take a photo of the battery setup before removing the old battery. This will help you when installing the new battery.
Preparing for Battery Removal
Before you proceed to remove the battery, ensure the following:
- Power Wheels is Turned Off: Make sure the toy is switched off to avoid any potential electric shocks.
- Disconnecting Cables: If the battery has connectors or cables attached, disconnect them. Some models may have a clip or plug that needs to be released.
Top Tips
- Use Appropriate Tools: If the compartment or connectors are tight, use appropriate tools to gently pry them open or release them.
- Take Photos for Reference: If the setup seems complex, take a few photos before removing the battery. These will serve as a reference when installing the new battery.
Removing the Old Battery
Safety First
Before proceeding with the removal of the old battery, ensure that all safety precautions are in place. Wear safety gloves to protect your hands, and if necessary, safety goggles to protect your eyes from any potential spills or debris.
Disconnecting the Battery
- Locate the Connectors: Identify where the battery is connected to the Power Wheels. This will typically be a set of wires with a plug or clip connecting the battery to the toy’s motherboard.
- Unplugging the Battery: Carefully disconnect the battery by unclipping or unplugging the connector. Avoid pulling on the wires directly; instead, grip the plug or clip. If the connectors are tight or difficult to remove, gently wiggle them back and forth until they come loose.

Removing the Battery
- Lifting the Battery Out: Once disconnected, gently lift the battery out of the compartment. Be mindful of its weight and handle it with care to avoid dropping it or damaging the toy.
- Inspect the Compartment: With the battery removed, inspect the compartment for any signs of damage, corrosion, or debris. Clean the compartment if necessary, ensuring it’s ready for the new battery.
Handling the Old Battery
- Proper Disposal: Lead-acid batteries, commonly used in Power Wheels, should be disposed of properly due to their toxic components. Do not throw them in a regular bin. Instead, take them to a recycling center or a retail location that offers battery recycling services.
- Environmental Considerations: Be environmentally responsible by ensuring the battery is recycled correctly. Lead-acid batteries are hazardous waste and should be handled accordingly.
Preparing for New Battery Installation
- Check the Connectors: Before installing the new battery, inspect the connectors and wires for any signs of wear, damage, or corrosion. Replace or repair any damaged parts before proceeding.
- Battery Compartment: Ensure the battery compartment is clean and free from any debris or obstructions that could affect the installation of the new battery.
Installing the New Battery
Preparing the New Battery
Before installing the new battery in your Power Wheels, ensure it is fully charged according to the manufacturer’s instructions. This initial charge is crucial for the battery’s longevity and performance.
Placement of the New Battery
- Positioning the Battery: Carefully place the new battery into the compartment, ensuring it is oriented in the same direction as the old battery was. The correct orientation is essential for the proper connection of cables and for the battery to fit securely in the compartment.
- Securing the Battery: If your Power Wheels model has a battery securing mechanism or compartment cover, make sure the battery is properly seated and secured. This prevents movement or disconnection during use.
Connecting the Battery
- Identifying Connectors: Locate the connectors or cables that you previously disconnected from the old battery.
- Making the Connection: Connect these cables or connectors to the new battery. Ensure that the connections are secure and that there is no risk of them coming loose. Be mindful of the polarity – connect red to red (+) and black to black (-).
- Checking for Proper Connection: Once connected, give a gentle tug on the connectors to ensure they are firmly attached to the battery terminals.
Final Checks Before Operation
- Inspect the Setup: Double-check that the battery is correctly installed, and the compartment is securely closed. Ensure that no wires are pinched or in a position where they could be damaged.
- Testing the Vehicle: Turn on the Power Wheels to test the new battery. Check for normal operation of the vehicle, including its response to controls and overall performance.
About the Author
Hannah Hill
Entrepreneur, and mother of three. Hannah is a toy expert with 20+ years in the online toy industry, founding the Kidaroos website that sells 10,000+ toys per year. Hannah is always looking for new, innovative ways to keep everyone's kids active and energised in a world full of screens and social media and has been featured in publications such as Authority Magazine.


